
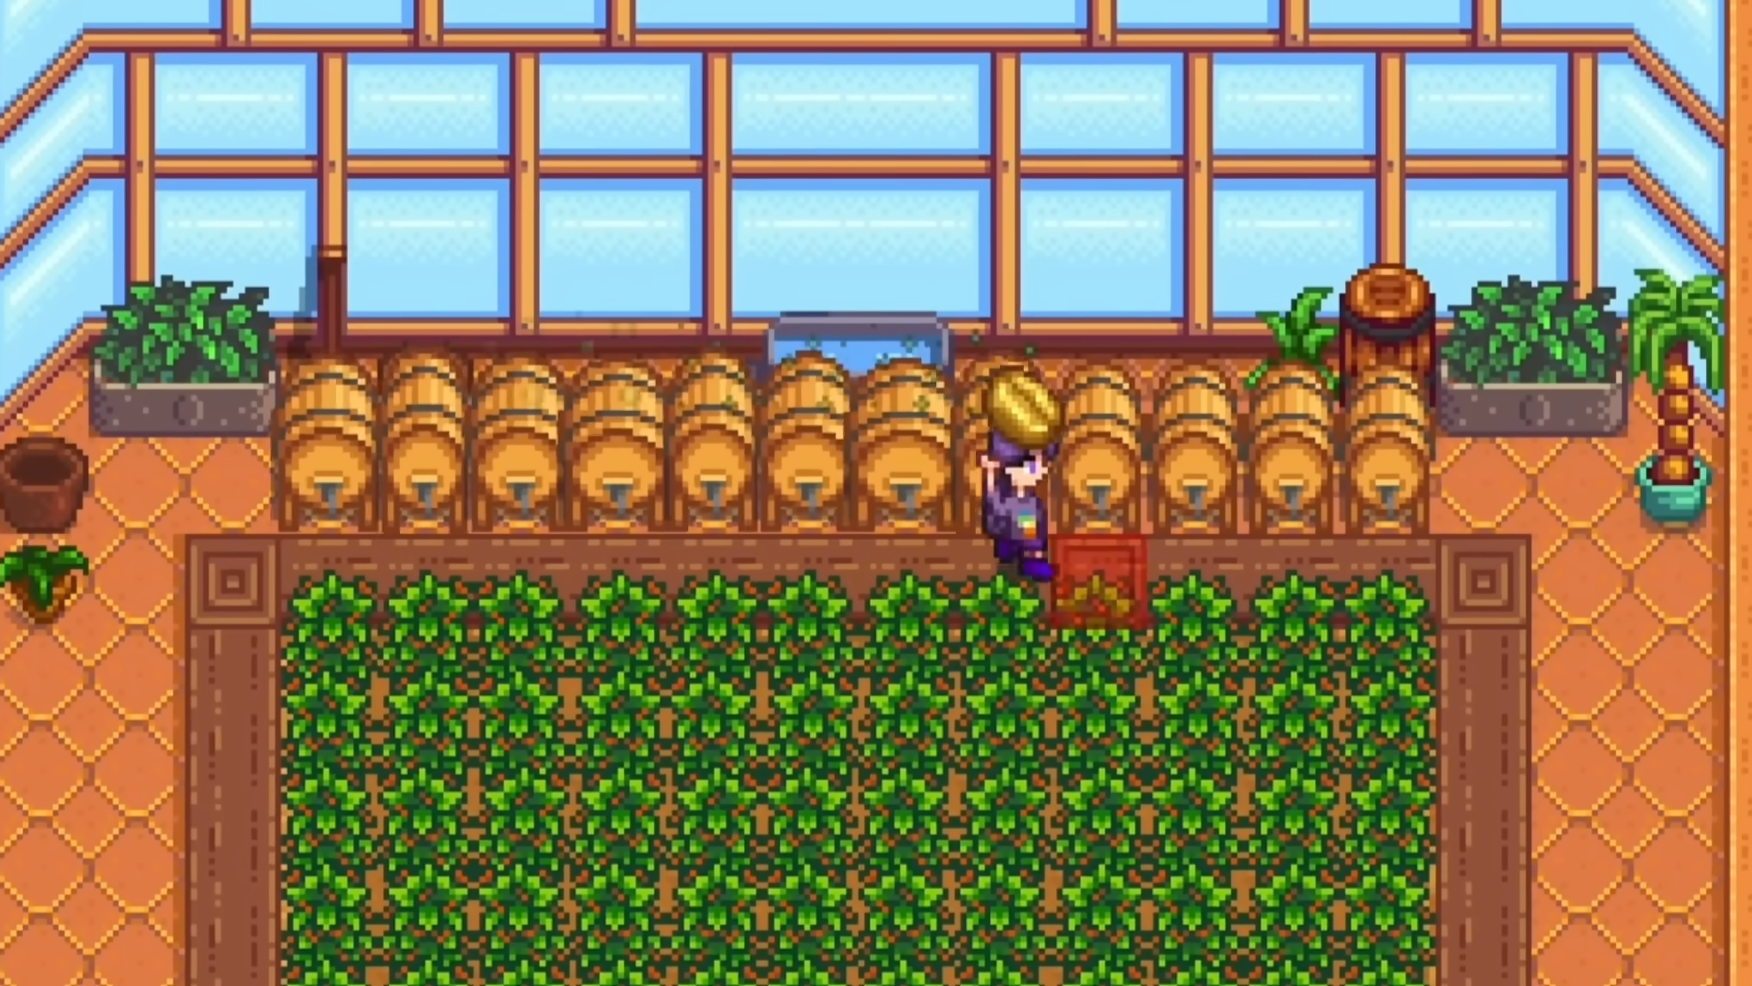
The Greenhouse in Stardew Valley is one of the most powerful long-term investments you can unlock. It completely removes seasonal restrictions, protects crops from crows and lightning, and allows you to create a year-round profit engine on your farm.
If you already read my Stardew Valley Farming Guide, this article will take your strategy to the next level by focusing entirely on greenhouse optimization — crops, layouts, fruit trees, and advanced profit setups.
How to Unlock the Greenhouse
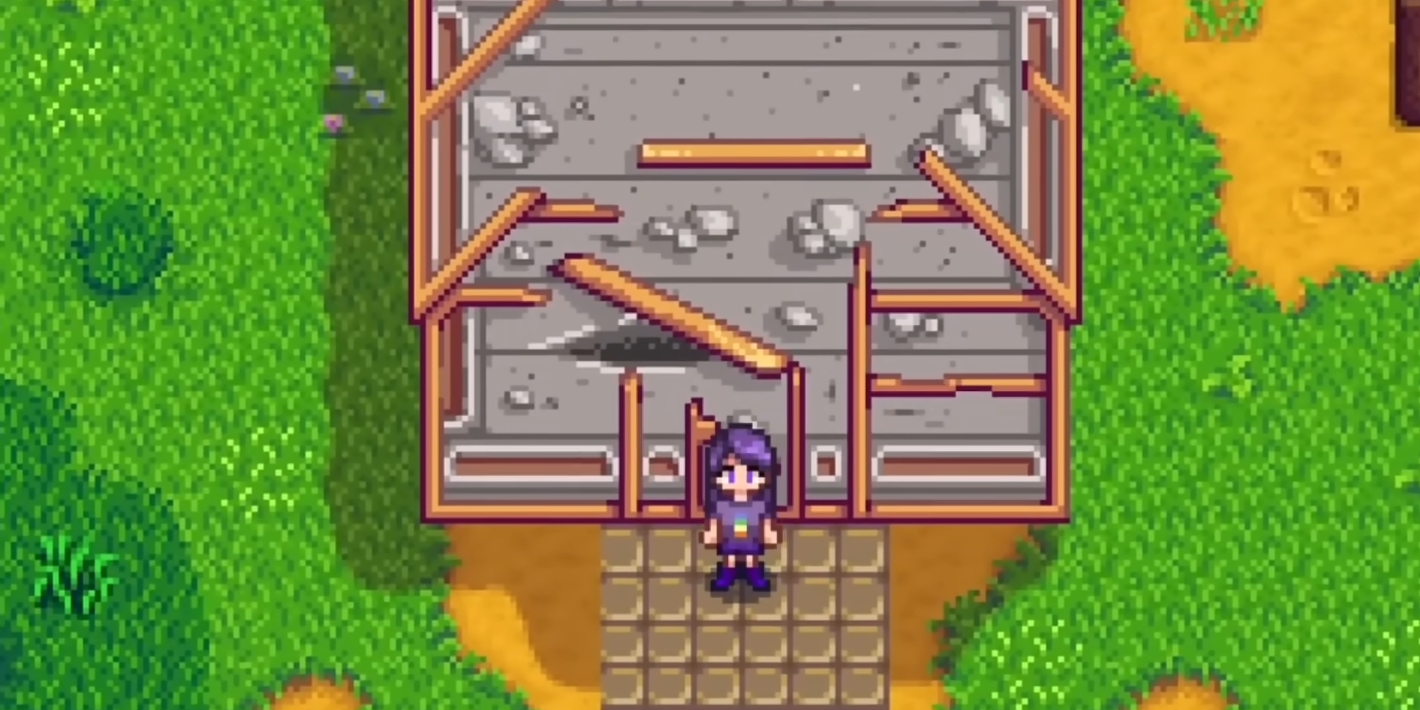

At the beginning of the game, the greenhouse is broken and unusable. You have two ways to repair it:
- Complete the Pantry Bundles in the Community Center (recommended). Once all bundles are finished, the Junimos will repair the greenhouse overnight.
- Purchase the Community Development Project for 35,000g — this option is only available if you have purchased a Joja Membership. After paying the fee, the Joja team will repair the greenhouse overnight.
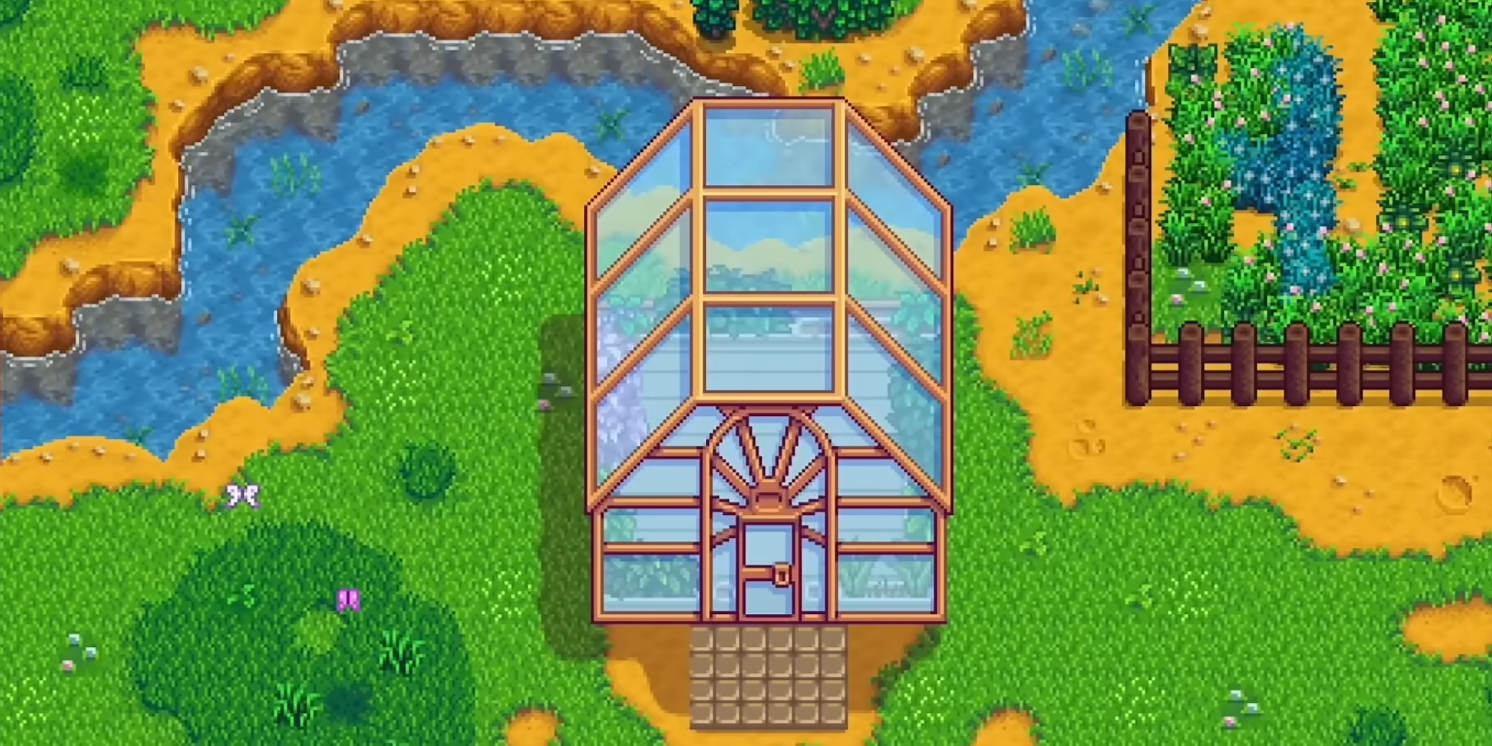
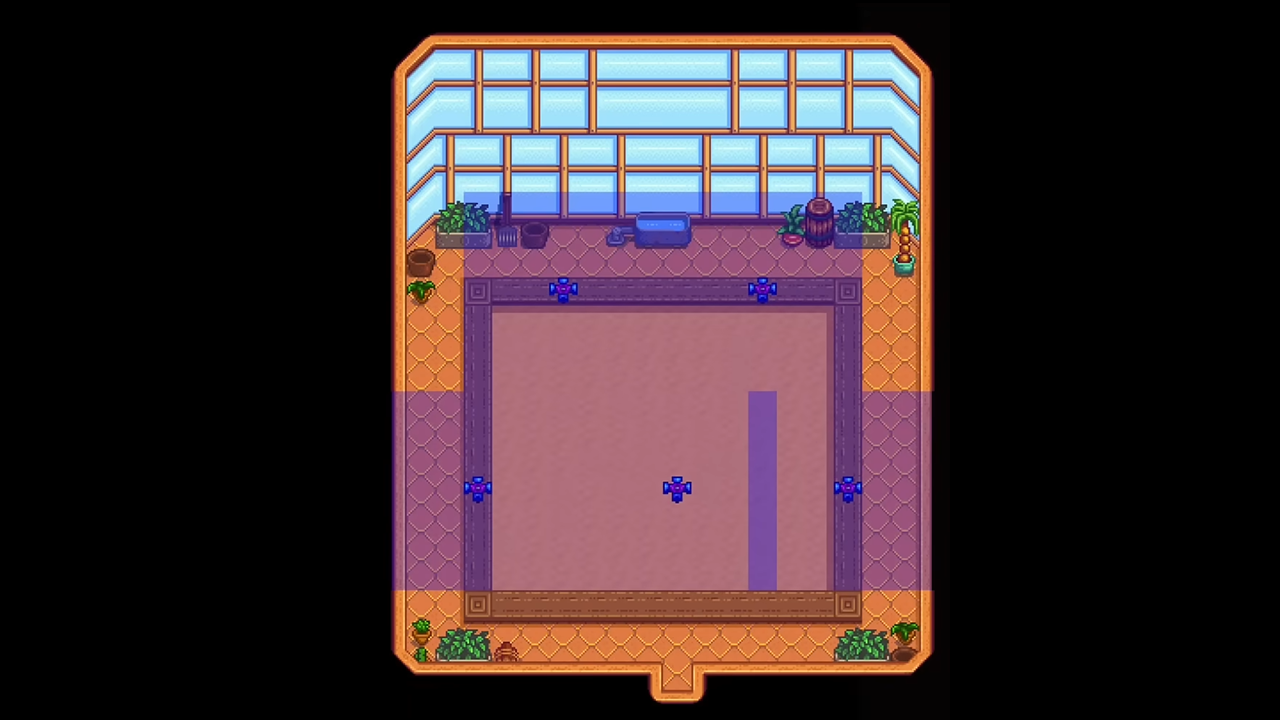
Once repaired, you gain access to:
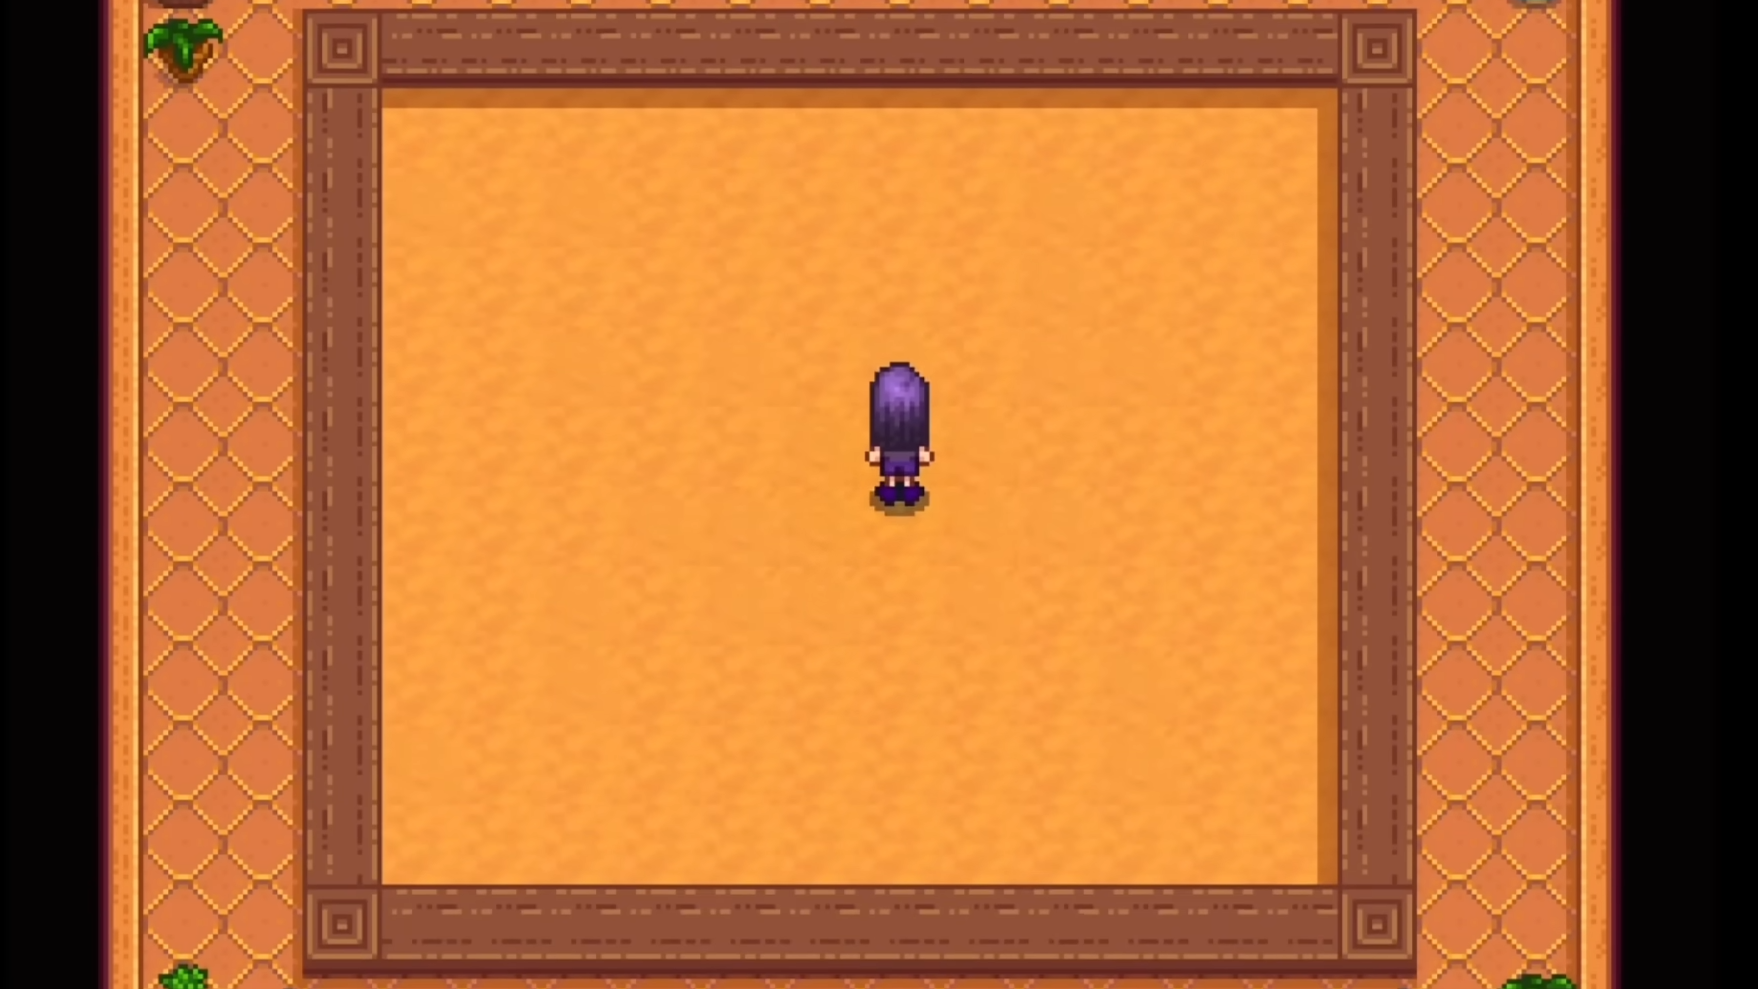
- 120 total tillable tiles (10×12 soil area)
- Protection from crows and lightning
- The ability to grow any seasonal crop year-round
- The option to relocate the greenhouse anywhere on your farm
This makes it one of the strongest long-term profit tools in the game.
Best Crops for the Greenhouse
The greenhouse removes seasonal restrictions, which means your goal is no longer “what grows this season?” but instead: what makes the most long-term profit with the least maintenance? Below are the best crops to prioritize depending on your playstyle — passive income, active profit cycling, or utility farming.
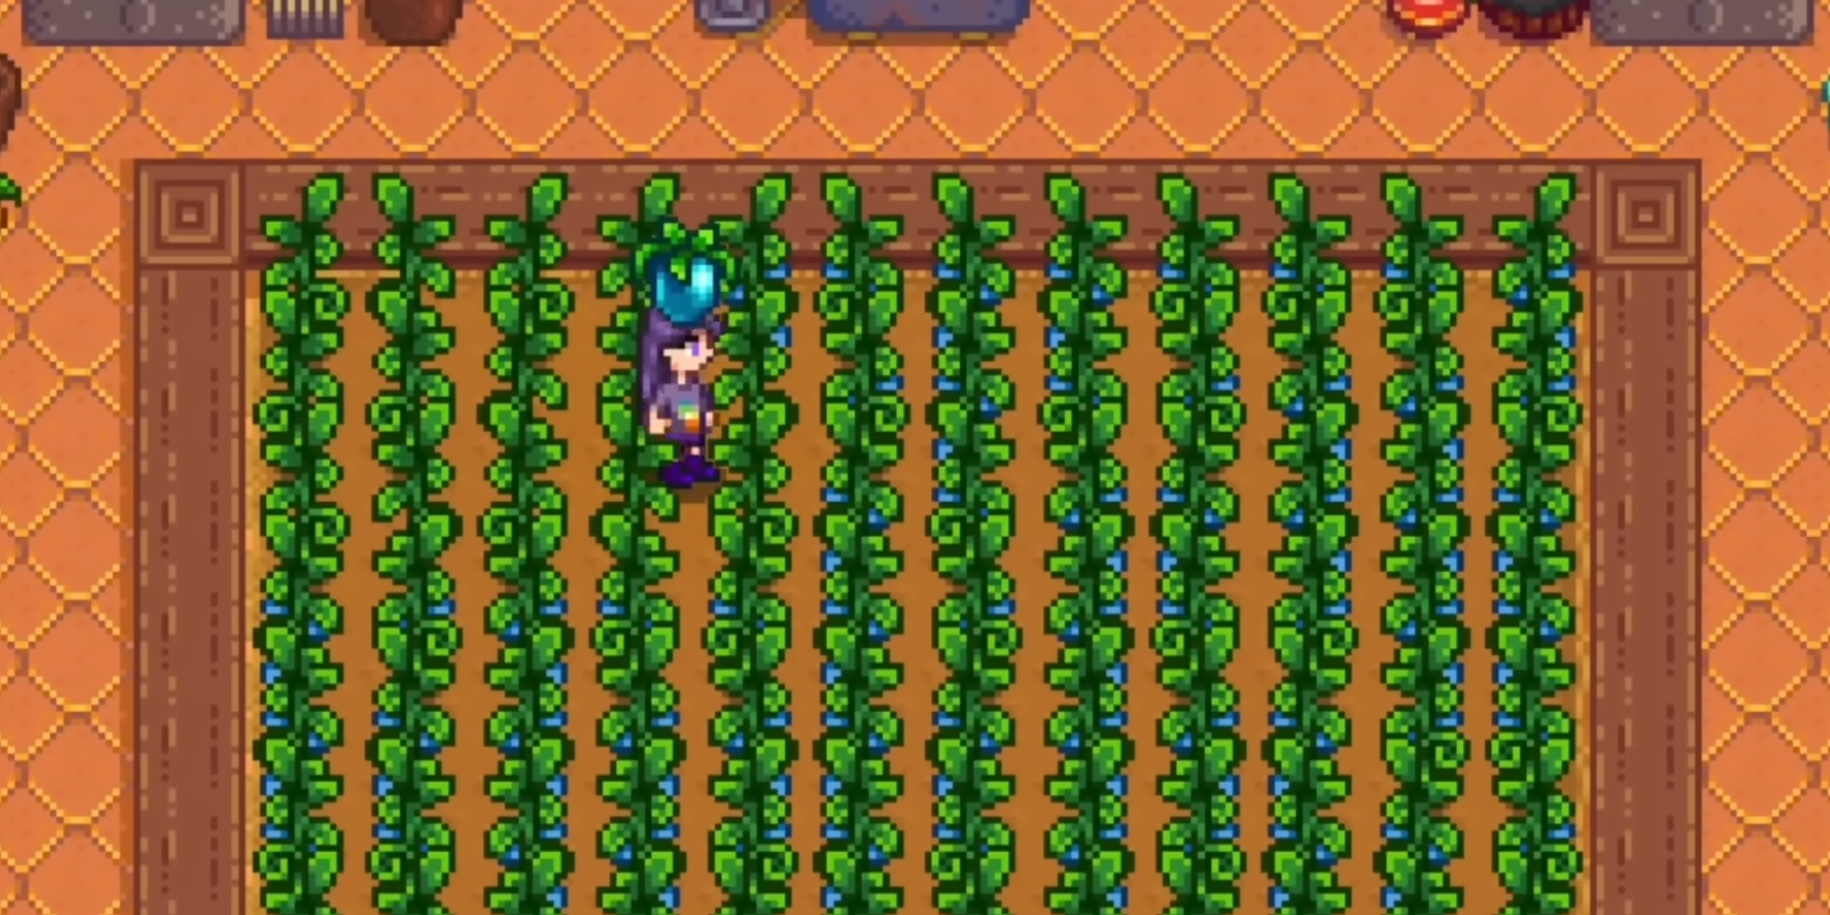
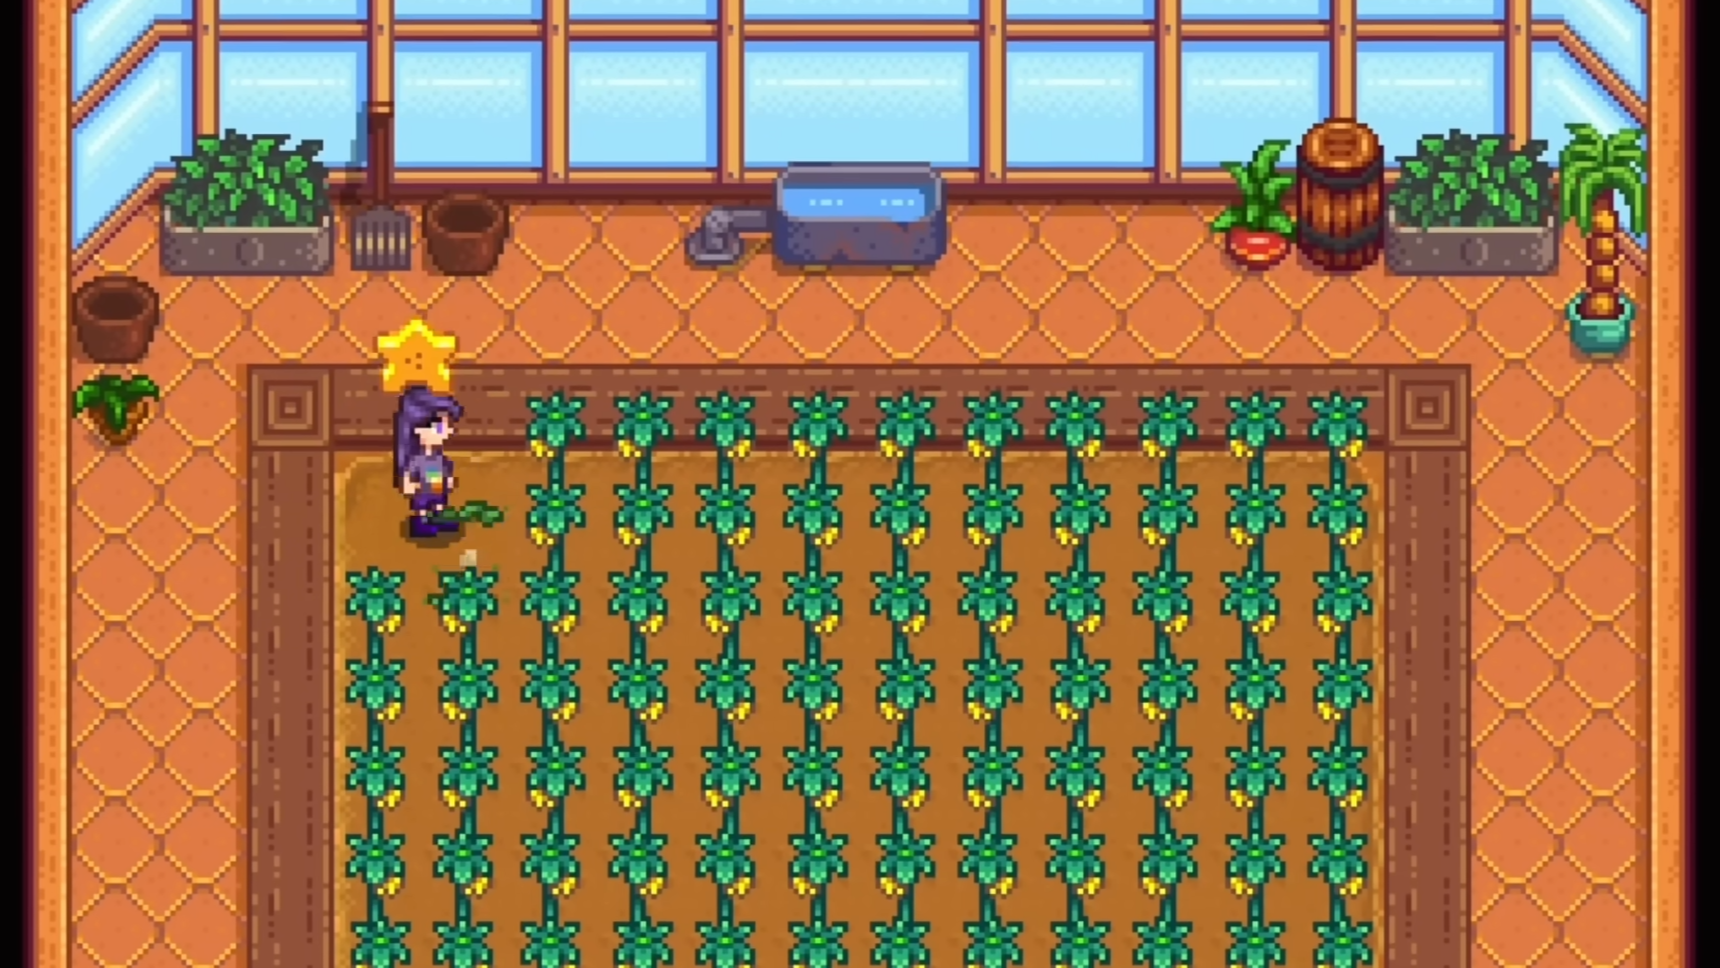
1. Ancient Fruit (Best Long-Term Passive Profit)
Ancient Fruit is widely considered the most powerful greenhouse crop for one main reason: once planted, it keeps producing forever.
- 28 days to reach first harvest
- Produces fruit every 7 days afterward
- Base sell price: 550g – 1,100g (Iridium)
- Artisan (Wine): 1,650g – 4,150g
- Artisan Profession bonus: up to 5,810g per bottle
- No replanting required
Even better: placing Ancient Fruit into a Preserves Jar or Keg dramatically increases its value. If you’re deciding between processing options, check my full comparison here:
Preserves Jars vs Kegs vs Beehouses Guide
Pro Tip: Use a Seed Maker to multiply your Ancient Seeds and slowly convert your entire greenhouse.
2. Starfruit (High Burst Profit)
- 13 days to harvest
- Base sell price: 750g – 1,500g (Iridium)
- Wine value: 2,250g – 5,650g
- With Artisan Profession: up to 7,910g per wine
- Single harvest (must replant)
Starfruit grows faster than Ancient Fruit but requires more active management. It becomes extremely powerful when processed into wine.
3. Sweet Gem Berry (Rare Seed)
- 24 days to grow
- Base sell price: 3,000g – 6,000g (Iridium)
- Cannot be processed in Kegs or Preserves Jars
- No regrowth
This is the highest raw crop value in the game, making it excellent for premium harvest cycles.
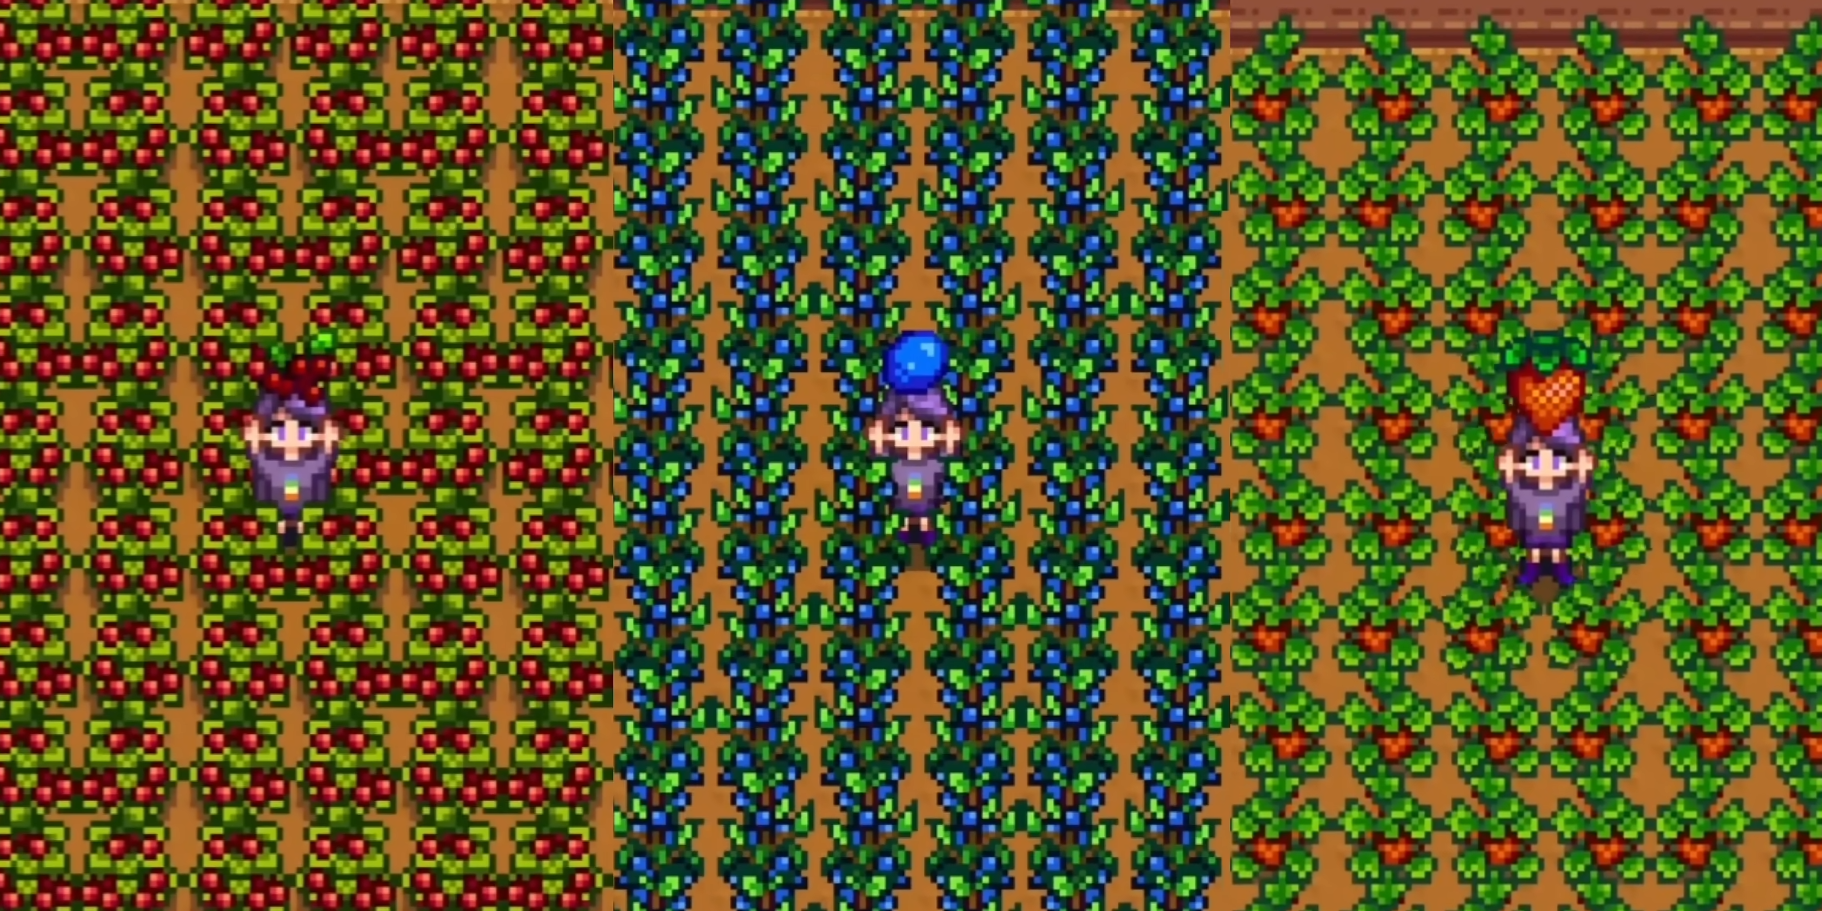
4. Strawberries, Blueberries & Cranberries
All three are multi-harvest crops and excellent for steady income.
- Strawberries: 8 days to mature, then regrow every 4 days (Egg Festival purchase)
- Cranberries: 7 days initial growth, regrow every 5 days, sell for 75g – 150g (Iridium)
- Cranberry Wine: 225g – 450g (Base), up to 630g with Artisan
Since the greenhouse ignores seasons, you can grow these anytime without seasonal loss.
5. Coffee Beans (Utility Farming)
- 10 days to mature
- Multi-harvest crop
- Base sell price: 15g – 30g
- Coffee sells for 150g
- Used to craft Triple Shot Espresso
Coffee is not a top gold-maker, but it provides constant speed boosts which are extremely valuable for mining and farming efficiency.
Best Greenhouse Sprinkler Layouts
The greenhouse layout is slightly awkward, so sprinkler placement matters.
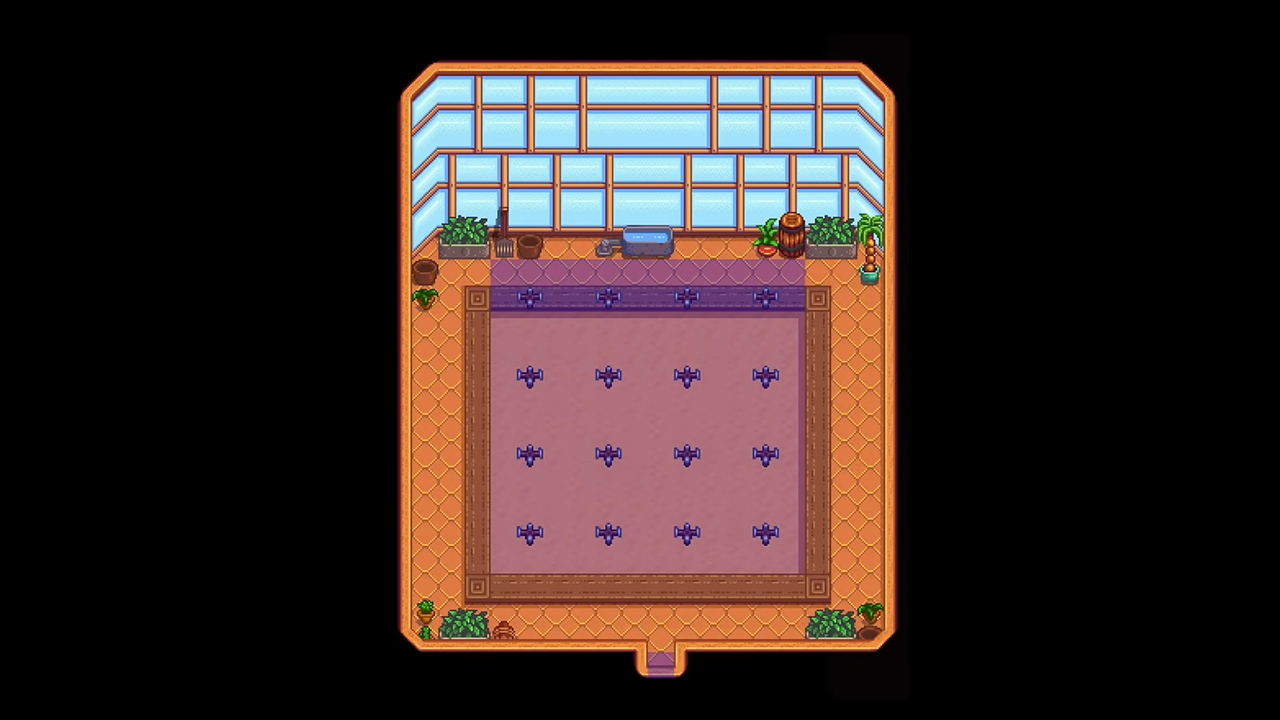
Early Game (Quality Sprinklers)
- 16 Quality Sprinklers
- 108 crops total
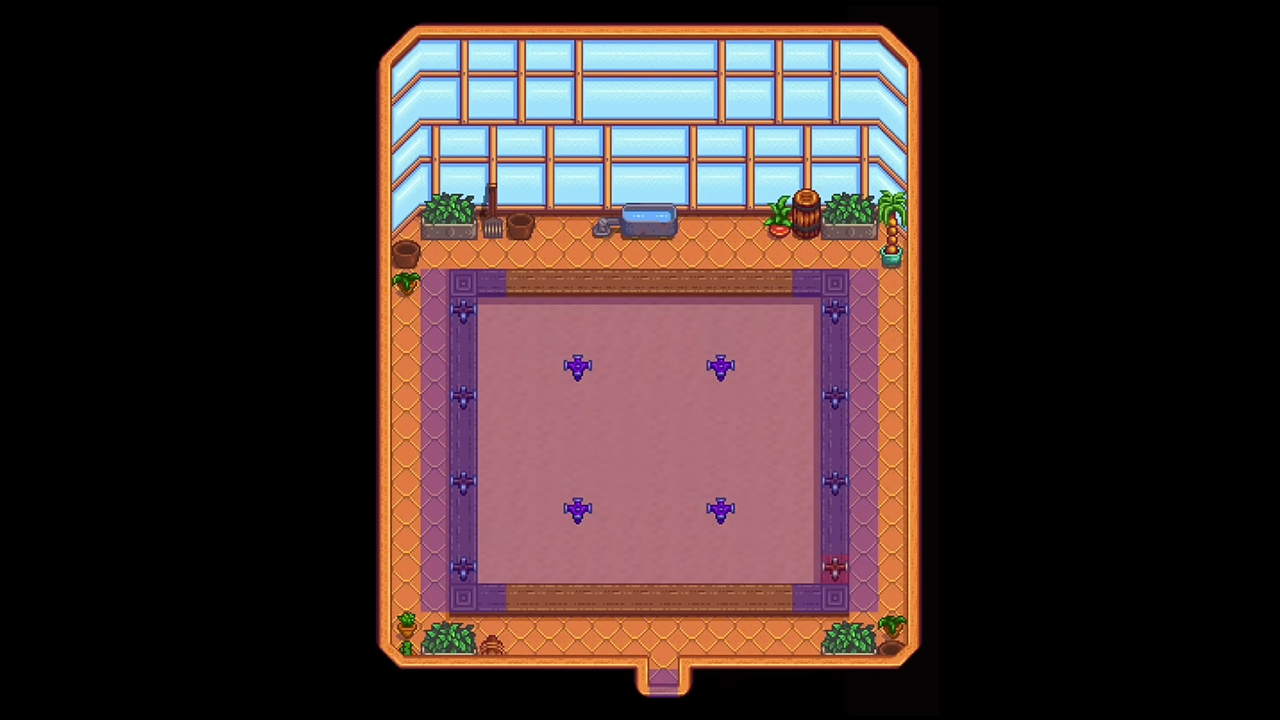
Mid Game (Mixed Setup)
- 4 Iridium Sprinklers (center)
- 8 Quality Sprinklers (edges)
- 116 crops total
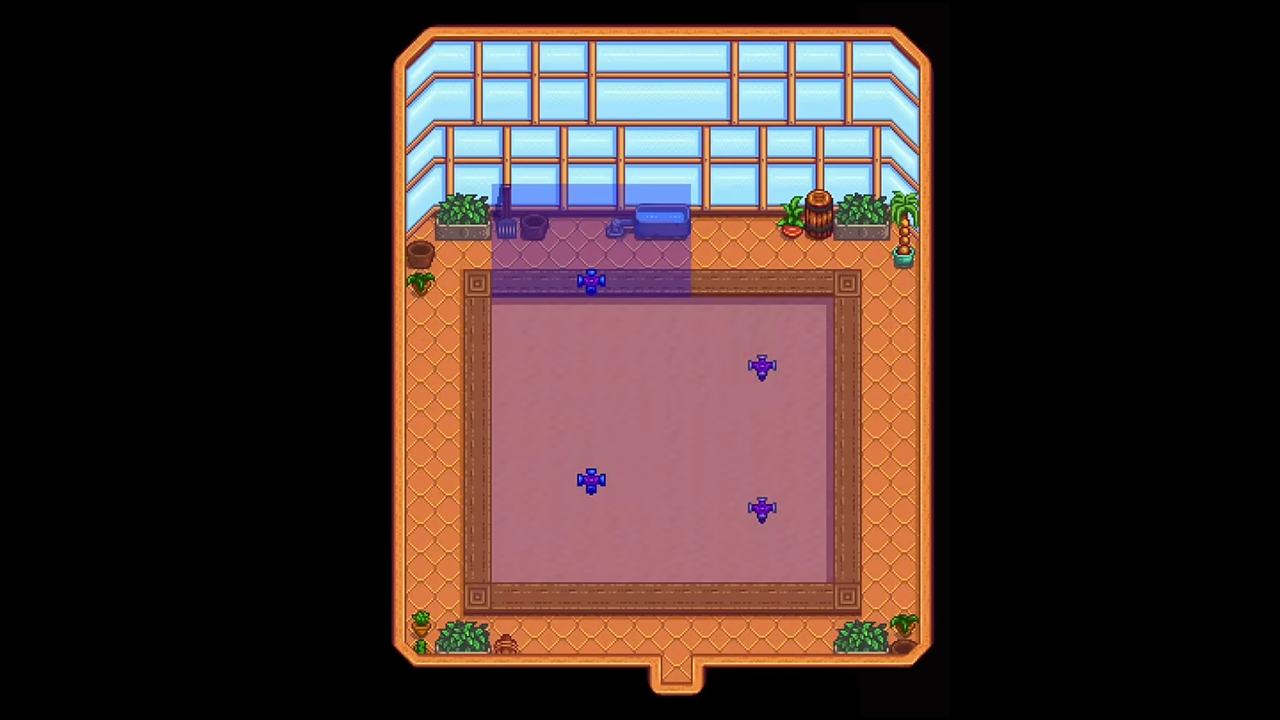
Advanced (Iridium + Pressure Nozzles)
- 5 Iridium Sprinklers with nozzles
- Up to 119 crops
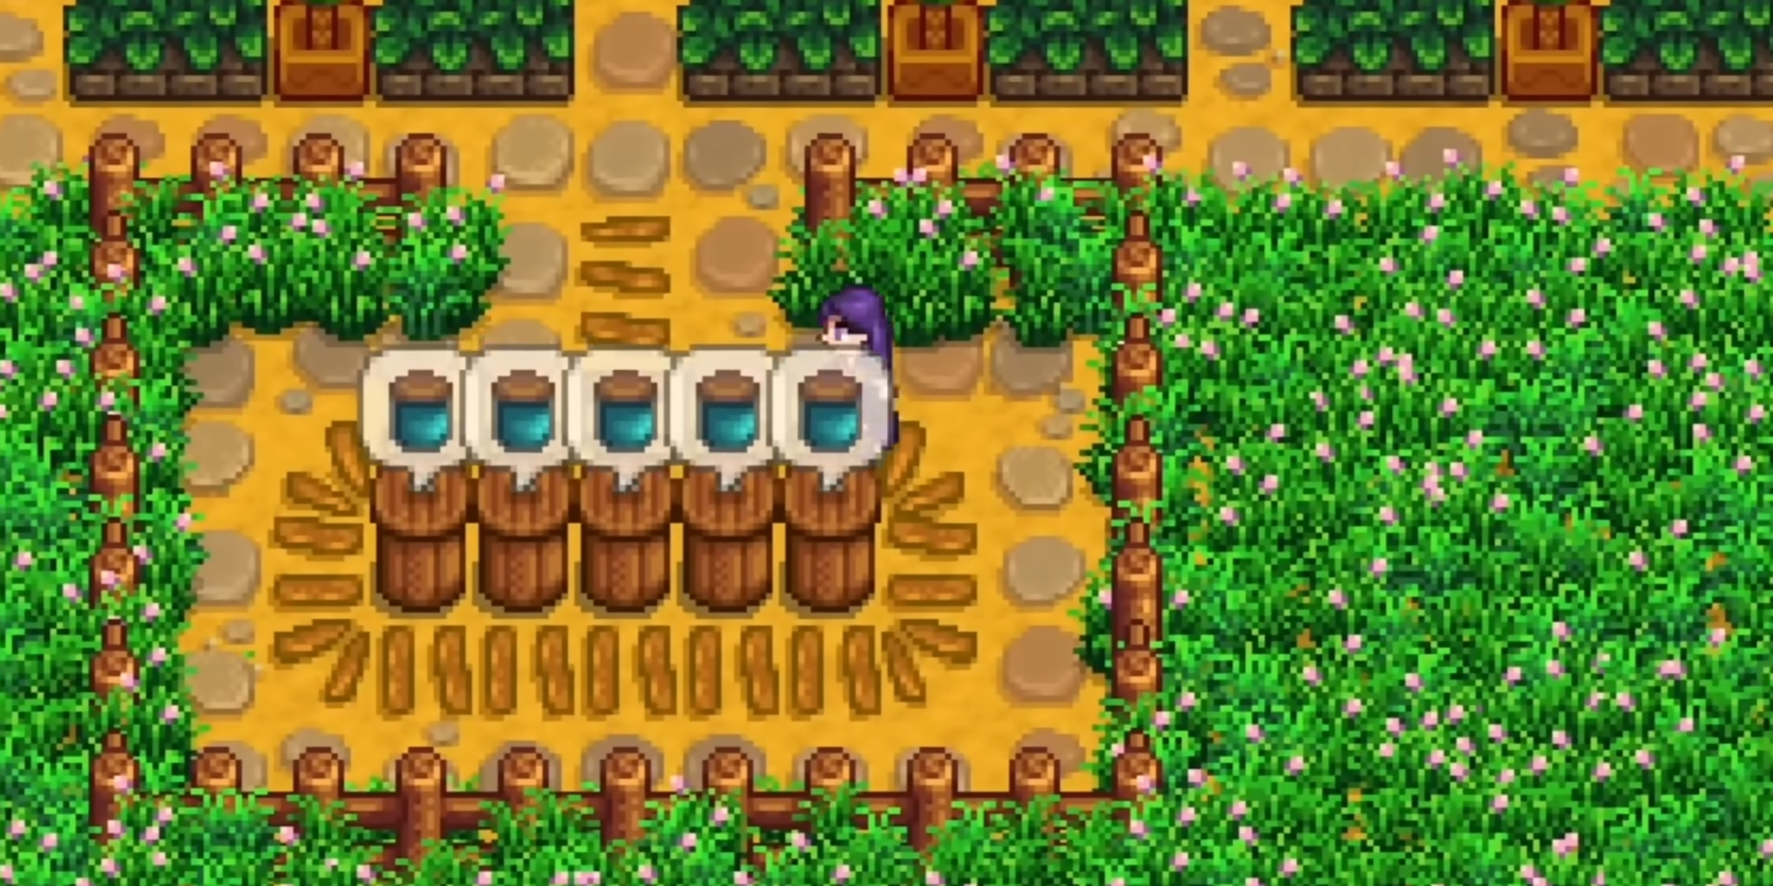
Deluxe Retaining Soil Strategy (No Sprinklers Needed)

Deluxe Retaining Soil keeps crops watered permanently.
Advantages:
- No sprinklers required
- Full 120 crop tiles usable
- Cleaner aesthetic layouts
Trade-Off:
- Cannot use Speed-Gro or Quality Fertilizers
This is perfect for fully automated Ancient Fruit farms.
Using Sheds as Extra Greenhouses
You can replicate greenhouse conditions using:
- Garden Pots
- Deluxe Retaining Soil
- Large Shed layout
A fully optimized Big Shed can hold up to 167 crops.
Note: Ancient Seeds cannot be planted in garden pots.
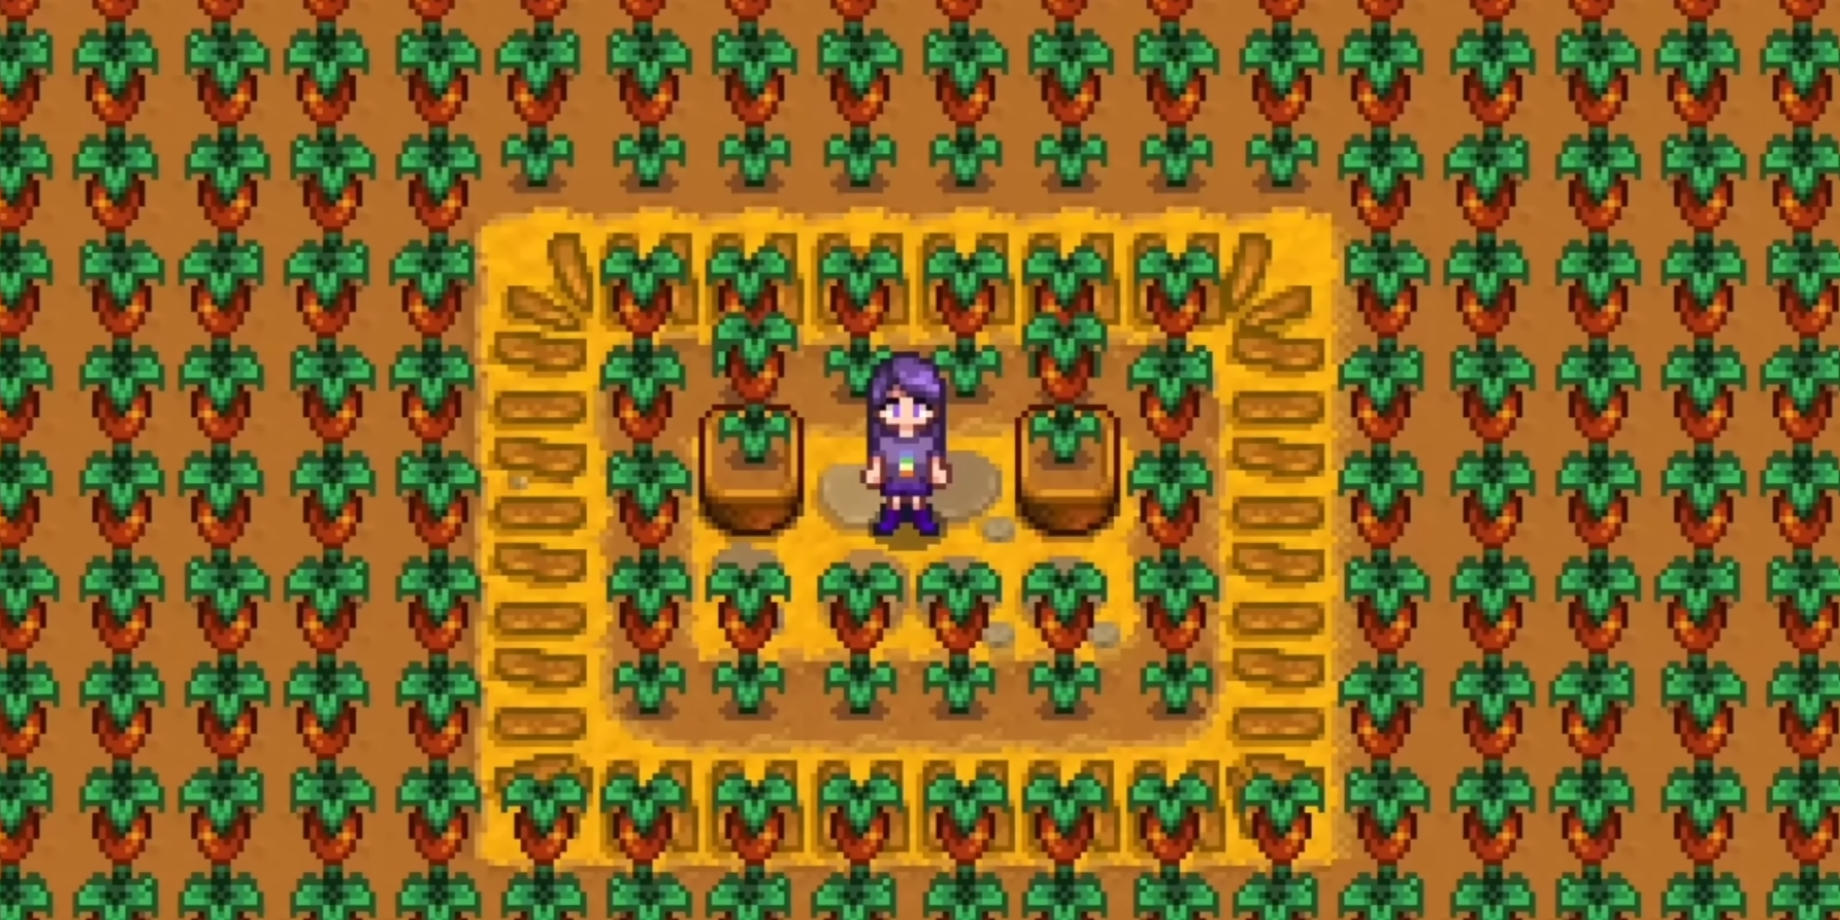
Planting Fruit Trees Inside the Greenhouse

Fruit trees can grow along the outer tiles and produce fruit year-round.
Optimal setup:
- 18 total fruit trees
- 2 tiles spacing between trees
- 4 in front
- 4 on each side
- 6 along the back wall
Important: Trees require a clear 3×3 area while growing.
Utility & Design Ideas
Your greenhouse doesn’t have to be purely profit-focused.
You can:
- Grow one of every crop for cooking
- Grow flowers for gifting
- Create aesthetic pathing designs
- Build a dedicated coffee production space
Profit is powerful — but design freedom is part of the fun.
Final Greenhouse Strategy
For maximum efficiency:
- Fill main soil with Ancient Fruit
- Process into wine or jelly
- Use Deluxe Retaining Soil if you want full automation
- Plant 18 fruit trees along the edges
- Use sheds for extra production
If you’re building a complete farm strategy, combine this with:
Conclusion
The greenhouse is not just a farming upgrade — it’s a financial engine. Whether you choose maximum efficiency with Ancient Fruit or design a beautiful multi-crop paradise, this building will dramatically increase your farm’s long-term income.
Once optimized, it becomes one of the most powerful tools in Stardew Valley.